Our assessment team utilise OpenVPN to provide access to your machines and we have developed the process below for the installation of the required software.
Downloading the Installer
You first need to visit our assessment website where you can login to the VPN setup and download area, here
You will then be presented with a login window, such as that below
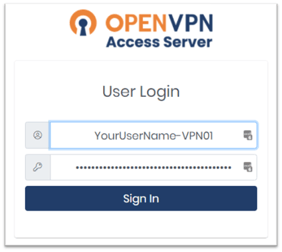
Log into the website using the VPN usernames you have been provided by the assessment team
NOTE: Username and Passwords are CASE SENSATIVE
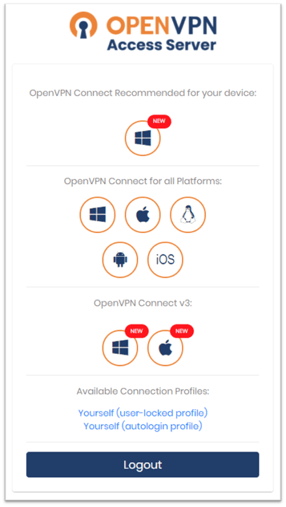
You can now download the installer file for:
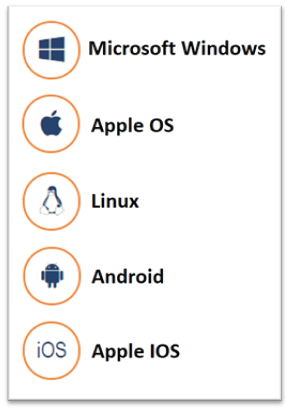
For Microsoft Windows, you will need to download the Microsoft Windows Installer File and we suggest downloading the version for Windows listed under OpenVPN Connect V3

You should also download the the Yourself (autologin profile) file from the connection profiles

At this point, you will need to install the OpenVPN software on your Windows Machine - we have not covered in detail here the prompts and requirements, however, please just follow the installation prompts.
Once installed, you can either use OpenVPN Interactively (where you start the VPN when our assessment team require) or, our recommended approach, you can change the setup to have OpenVPN work as a service (its runs on boot) which allows us to work with you and continue to re-assess the device until we are all happy without you having to keep enabling the VPN.
OPENVPN CONFIGURATION
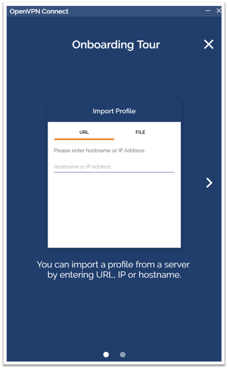
When you first open the OpenVPN application, it will ask you if you would like a tour; feel free to take a tour, but otherwise, just click on the X to exist this part of the first run settings.
You will be presented with the license agreement which you need to accept, please review and click on the AGREE button.

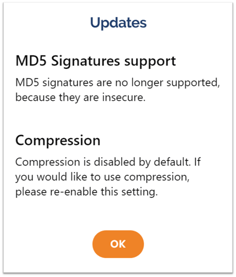
You may receive other update messages about Compression changes or Encryption Changes, if you do, review and then accept these as well.
At this point you are then ready to import the connection configuration, the client.ovpn file you downloaded earlier, the Yourself (autologin profile).
Select the FILE link at the top of the configuration window
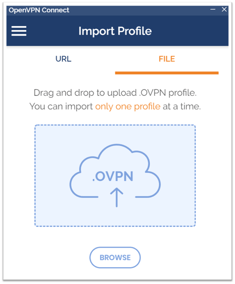
Click on the BROWSE button to find the file you downloaded earlier
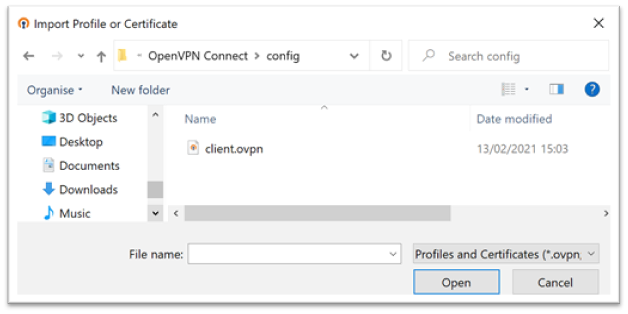
Locate the client.ovpn file, select it and click on Open
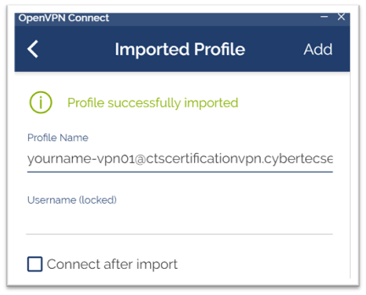
Your VPN connection details will be displayed and you can now click on Add
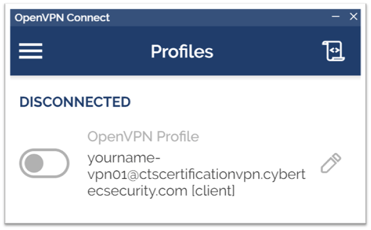
You can now click on the switch on the left of the connection details to turn the VPN on and Off

When connected the display will go Green and Orange like the above
YOU ARE NOW CONNECTED TO OUR ASSESSMENT SYSTEM
If you would like to have the VPN start everytime you restart the machine so our assessment team can immediately scan and work on it with you, we recommend setting up the OpenVPN as a service. You can find out how to do that here