Our assessment team may utilise OpenVPN to provide access to your machines and we have developed the process below for the installation of the required software.
Download and Install OpenVPN
Open a terminal window on your Linux Distro
For ease, elevate your session to SUDO with the sudo -i command or prefix all other commands shown here with sudo
sudo -i
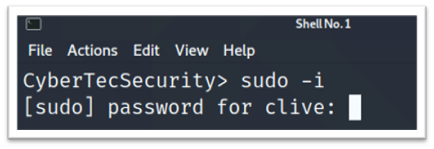
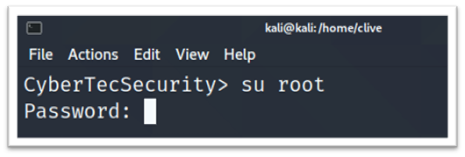
Either enter your password (if you are a member of the SUDO group) or use the su command to access an elevated terminal session with another SUDO user
su root
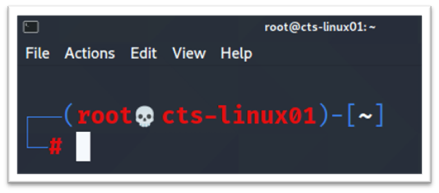
You should then see your access change, for example, here, we can see we are now a root user
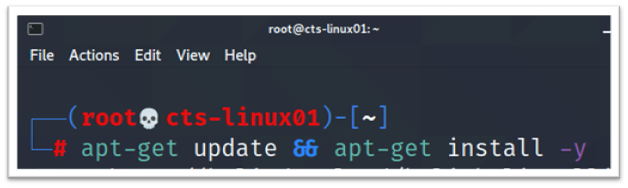
As always, we recommend ensuring your system is up-to-date before installing any software applications, so consider running a check before you start with the relevant update commands for your distro, for example apt-get update && apt-get install -y
apt-get update && apt-get install -y
You now need to install the OpenVPN software using the process specific for your Linux Distro, for example apt-get install openvpn
apt-get install openvpn
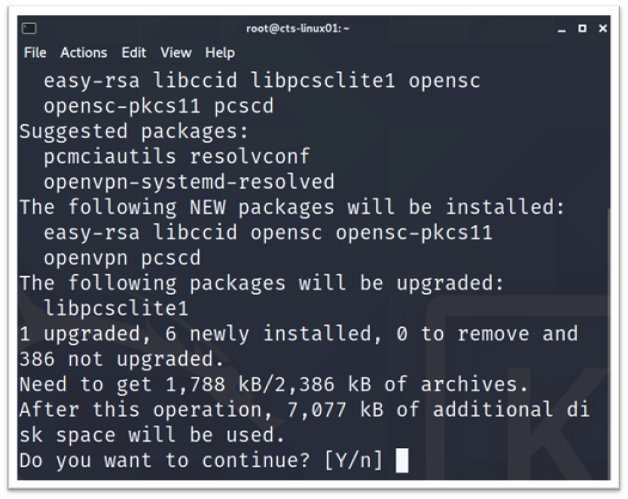
Select "Y" to confirm the installation which will then complete
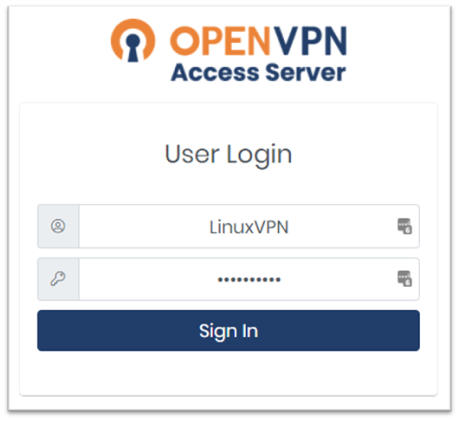
You will then need to download the configuration file from the Assessment Platform Website using a browser, you can log in here
NOTE: LOGIN NAME/PASSWORD is case sensative
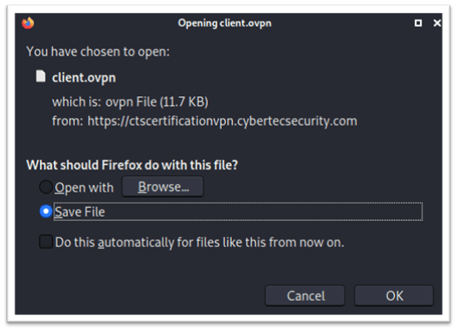
Once you have logged in, you need to download the Yourself (autologin profile) file

The file will be saved to your Downloads folder
From a non SUDO terminal, access the Downloads folder - note capital "D"
(If you are in SUDO session, you will not see your own users Downloads folder)
cd Downloads
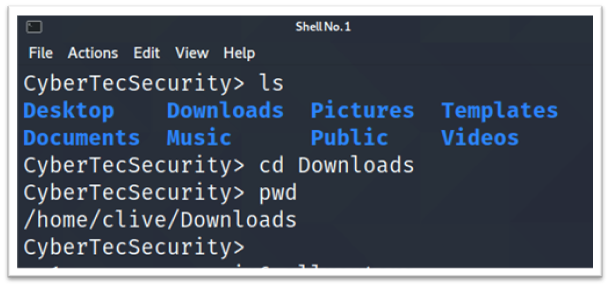
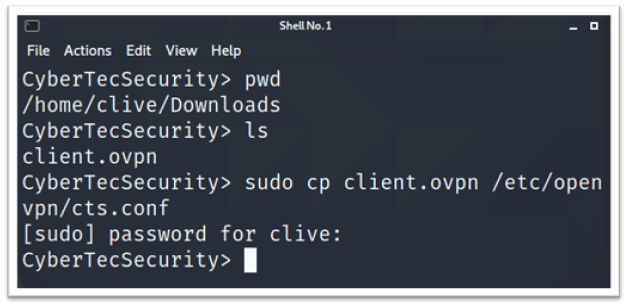
Check you are in the correct directory with the pwd command
pwd
And list the files in the directory to ensure the client.ovpn file is there with the ls command
ls
Then copy the client.ovpn file into the /etc/openvpn folder but renaming it to cts.conf
sudo cp client.ovpn /etc/openvpn/cts.conf
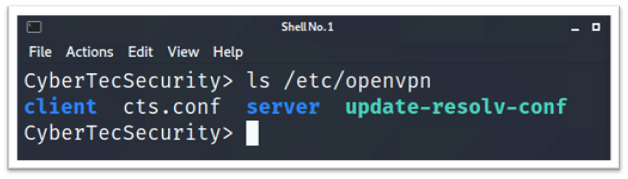
Check the file has copied correctly into the /etc/openvpn folder with the ls command
ls /etc/openvpn
We then need to edit the openvpn configuration file /etc/default/openvpn
sudo nano /etc/default/openvpn

Locate #AUTOSTART="all" and remove the #
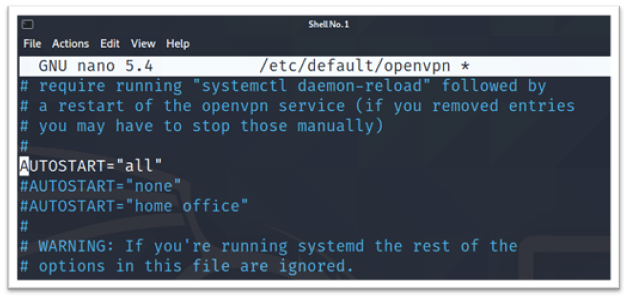
When you have finished editing, press CTRL + X, confirm "Y" to save the file and press "ENTER" when asked about the filename.
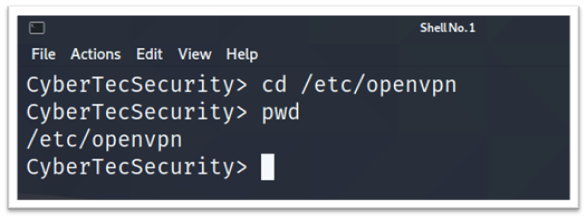
From the non-sudo command prompt you need to move into the /etc/openvpn folder
cd /etc/openvpn
Confirm you are in the correct location with the pwd command
pwd
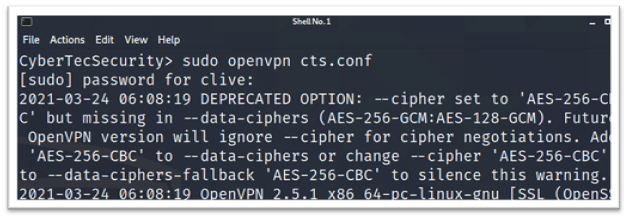
You can now test the VPN connection by executing OpenVPN with the cts.conf file as the parameter
sudo openvpn cts.conf
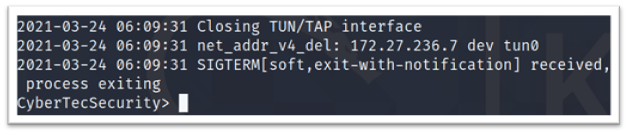
OpenVPN will then execute and will consume the terminal (not providing a prompt return and staying resident)
You can press CTRL + C to terminate the OpenVPN connection
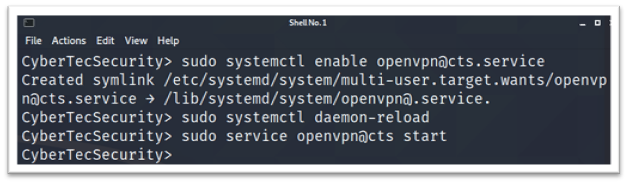
You can then set the OpenVPN connection to start automatically (saving a manual start) by additing this as a service.
First add openvpn with the cts.conf as a service
sudo systemctl enable openvpn@cts.service
Then reload the daemon
sudo systemctl daemon-reload
Then start the OpenVPN service
sudo service openvpn@cts start
You are now connected to our assessment platform, please reach out to one of our assessors who will be able to confirm that you have a live connection.