REQUIREMENT
In order for our assessment tools to have access to your system we require a local admin account which has access to both WMI and SMB on the machine.
USER ACCOUNT CREATION / PERMISSION GROUPS
Setup a user account as instructed by your assessor (we will provide the account name which is not listed here) and that account should be a local admin account on the machine. It should be noted that a Domain Account often will not work and therefore a local account is required.
Ensure you add the account to:
- Administrators
- Distributed DCOM users
- Remote Management Users
The above will normally provide sufficient access permissions for the user, however, if we experience any access issues, or indeed, if you want to ensure everything will work, first time, its better to complete the steps for WMI/SMB as below.
WMI SETUP
- Run "DCOMCNFG" as an administrator and drill down on the component services

- You can then Right Click on "My Computer" and select "Properties"
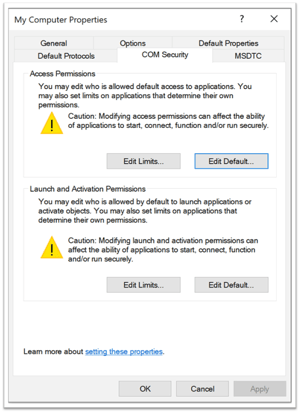
- Select COM Security
- Add the required user to the "Access Permissions" and "Launch and Activation Permissions" in both the "Edit Limits" and "Edit Defaults" options.
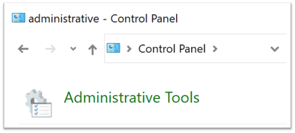
Apply and OK and exit DCOMCNFG - Access Administrative Tools (Control Panel / Administrative Tools)
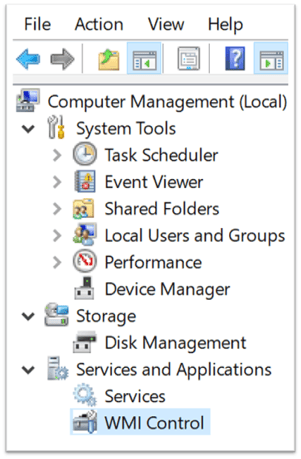
Run "Computer Management" as an Administrator - Expand the "Services and Applications" section and right click on "WMI Control" and select "Properties" (if you don't see properties, you need to click on it first)
- Select "Security"on the top tabs and then expand the menu to highlight and select "CIMV2"
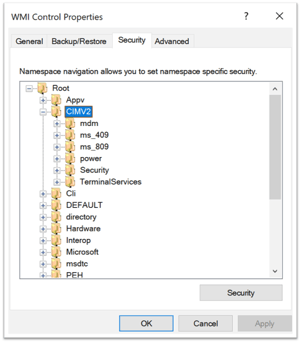
- Select "Security" from the button below
- KEY POINT HERE click on "Advanced" and do not just add your user to the list
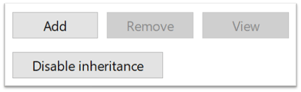
- From the Advanced Security Settings for CIMV2 click on the Add button
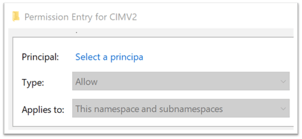
(Check the title box mentioned CIMV2 which is what you need to be editing)
- From the new "Permissions Entry for CIMV2" screen you need to click the "Select a principal" link
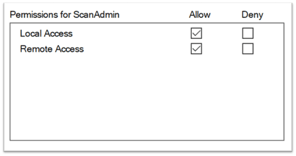
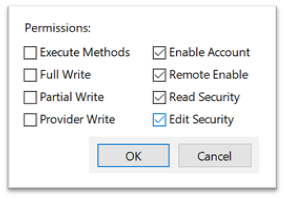
- Once you have added your user, provide the required access permissions (shown below) and click "OK" to save.
- Apply the settings on the main screen and exit the WMI Control Configuration screens

REMOTE REGISTRY SERVICES
- From the previous screen, select "Services" or run and access the services configuration as an Administrator
- Locate the "Remote Registry" Service and set it to "Manual" - apply and OK


RESTART WMI SERVICE
- Locate the "Windows Management Instrumentation" service and restart it (right click and select restart) - it is likely there will be other dependant services, however, generally these are OK to restart as well.

FIREWALL RULES
LOCAL ACCOUNT TOKEN FILTER POLICY