Agent Setup for MAC OS
Setup of the AppleMAC OS X Agent
To complete the assessment of a MAC device, you must install an agent onto the device. The agent installation is a simple task but does require some command-line access (Terminal)
Official Installation Guide - shortcut below
Manual Deployment of the Agent
You will need administrative (sudo) access to your device to install the agent.
- First, please download the package file from the website URL we gave you in the CE Plus Onboarding Email.


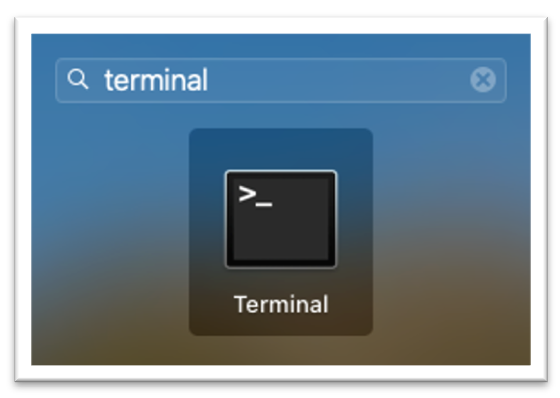
- You will then need to open a Terminal Window to install the Agent. Use Finder to search for "Terminal." and open it.


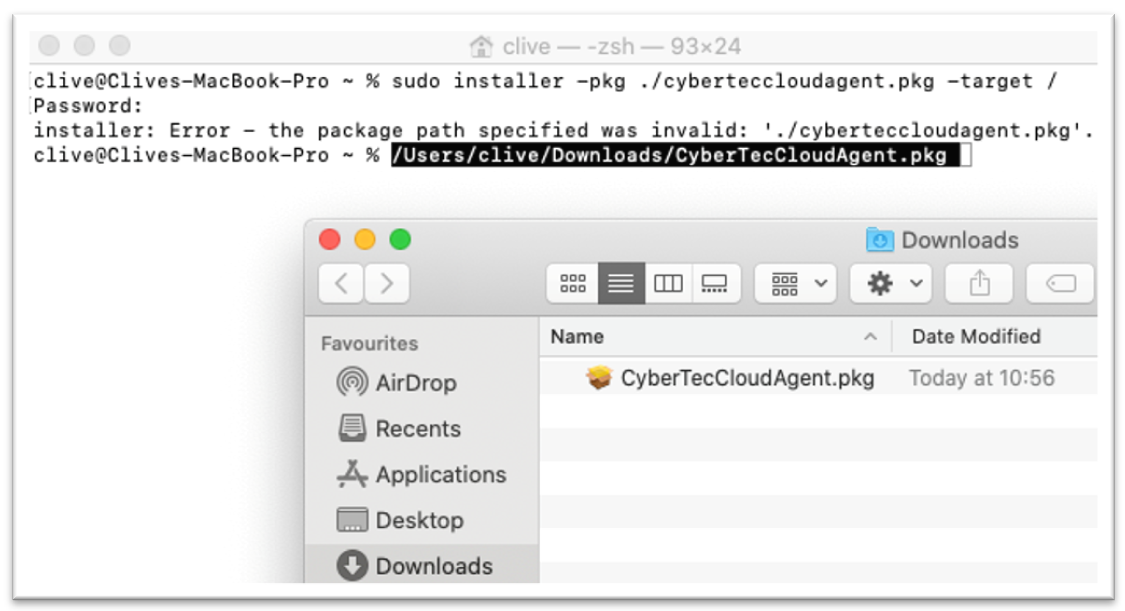
- You will now need to run the installation command as sudo. However, if you try to run this at the moment, you will not have direct access to the file you downloaded when you sudo. Therefore, we recommend dragging and dropping the file from downloads into the terminal window and editing the command you see.

- You can then execute the installation command by editing the text you have created on screen with the drag and drop of the file from your downloads folder - alternatively, copy the command from below, paste that into the Terminal Window and edit the {your username} replacing it with the login name you use for your MAC.
Where I have had an issue, I have dragged the file from my downloads into the /users folder root (needs elevation) and then it's available for you with a cd/users on the command line.
sudo installer -pkg /users/{your username}/Downloads/CyberTecCloudAgent.pkg -target /
- Once you see the installation has been completed successfully, as above, you have one further command to execute (we have emailed this to you, but the example is below)
sudo /Applications/QualysCloudAgent.app/Contents/MacOS/qualys-cloud-agent.sh ActivationId=SeeYourEmail CustomerId=SeeYourEmail ServerUri=https://qagpublic.qg2.apps.qualys.eu/CloudAgent/
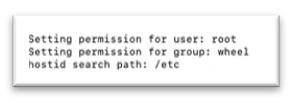
You should see the Terminal Window display that some permissions have been amended for the root account and the group wheel (or similar)

- At this point, you can terminate the Terminal Session by typing "Exit" into the Terminal Window and then closing the Terminal Application.

- You will need to add the Permissions for the Privacy Features and Service manually
- MacOS 10.15 and onwards, applications need to be granted appropriate permissions for
privacy features and services. - QualysCloudAgent.app does not install kernel extensions (KEXT) or System Extensions.
QualysCloudAgent.app needs to be explicitly added to the allow list for below privacy
feature: - Enable Full Disk Access (FDA)
- Permissions for the Privacy Features and Service
This privacy permission can be manually managed by users in System Preferences - Security & Privacy > Privacy > Full Disk Access.
- To grant authorization for FDA for QualysCloudAgent.app with the help of MDM, like Jamf/Meraki, use below Bundle Identifier and Team Identifier:
Bundle Identifier=com. Qualys.cloud-agent
TeamIdentifier=CLRUMG7LZ6
- Permissions for the Privacy Features and Service
- MacOS 10.15 and onwards, applications need to be granted appropriate permissions for
QUALYS UNINSTALL / REMOVAL
When we conclude the assessment, your assessor will select to remove you from our Qualys system. Once you remove your installed Qualys agents, they will self-remove the next time they check in to the platform. This works only once, so if you have a script installing Qualys, it will reinstall, and you will have to remove it manually.
You can manually uninstall Qualys using the uninstall command from a terminal session of your macOS device, using the following command:
"sudo /Applications/QualysCloudAgent.app/Contents/MacOS/qagent_uninstall.sh"